Prestashop is an open-source e-commerce platform.
If you want to customize your e-shop's visual appearance, there are many themes available on the store but most are paid. The default classic theme is pretty decent, but is very neutral and the steps to customize it are not very well documented.
Here I'll explain how I managed to customize it and achieve this effect.
Setting up the repository
We'll need to clone the theme's repository to have the SCSS source code. We'll also rename it with a new unique name. For this tutorial, I will call it my-awesome-custom-theme.
$ git clone --depth 1 --branch 2.1.x https://github.com/PrestaShop/classic-theme my-awesome-custom-theme
$ cd my-awesome-custom-theme
Then, reflect that name on the theme's manifest: config/theme.yml. The theme id must exactly match the theme's directory. You may also want to change some other details.
-name: classic
-display_name: Classic
-version: 2.1.3
+name: my-awesome-custom-theme
+display_name: My awesome custom theme
+version: 1.0.0
 author:
-  name: "PrestaShop SA and Contributors"
-  email: "contact@prestashop.com"
-  url: "https://www.prestashop-project.org"
+  name: "Konrad Poweska"
+  email: "konrad@example.com"
+  url: "https://github.com/konradpoweska/my-awesome-custom-theme"

 meta:
Then, prepare the dev tools by installing the node dependencies.
$ cd _dev
$ npm install
While you're working on your theme, you may want to have the dev server running in the background:
$ NODE_ENV=development npm run watchOnce you're done, before using the theme in production, make sure to run the actual optimized production build.
$ NODE_ENV=production npm run buildAdding theme to your Prestashop instance
To add a theme to Prestashop, you need either to upload it's zip file through the admin interface, or simply place the theme's folder in [prestashop-root]/themes.
For using your theme on your local instance on your workstation, it's as simple as moving or mounting your theme's folder.
To use it on a remote instance, you need to either package your theme as a zip file, or, like me, you can use rsync.
To use rsync, you need SSH access to the server, and rsync needs to be installed on both your workstation and the server.
At the root of your theme (not in _dev):
$ rsync -rvu -e "ssh -p $PORT" --del --exclude={_dev,cache,.git} ./ "$HOST:$REMOTE_PRESTASHOP_DIR/themes/my-awesome-custom-theme"
# The -e argument is optional if you want to provide a custom SSH port
Then, of course, set it as the active theme in your admin panel.
Customizing the theme
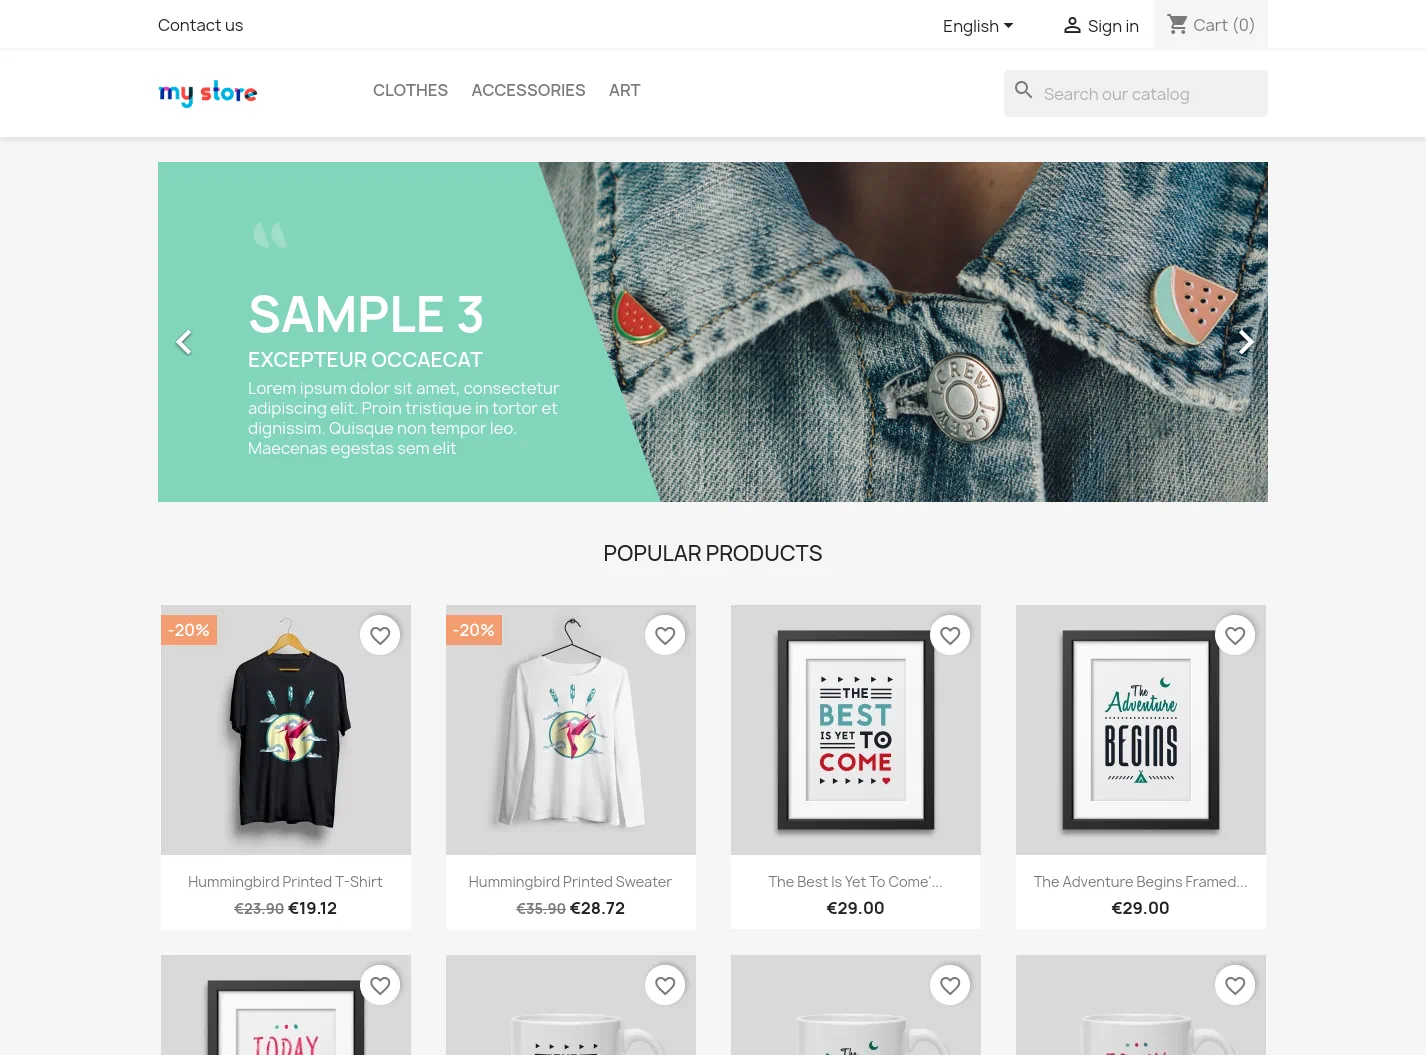
1. The colors
The file that I modified the most is css/partials/_variables.scss, which contains all color definitions.
-$white: #fff;
+$white: #F3EFEB;
 $black: #000;
-$gray-dark: #363a42;
-$gray-darker: #232323;
-$gray: #7a7a7a;
+$gray-dark: #634D38;
+$gray-darker: adjust-color($gray-dark, $hue: 0, $lightness: -15, $saturation: 0);
+$gray: #866d5b;
 $gray-second: #9b9b9b;
-$gray-light: #f6f6f6;
-$gray-light-second: #dbdbdb;
-$gray-lighter: #f6f6f6;
-$gray-lighter-second: #f7f7f7;
-$border-gray: #ddd;
-$brand-primary: #24b9d7;
-$brand-secondary: #f39d72;
+$gray-light: #E8E0D8;
+$gray-light-second: #EAE3DC;
+$gray-lighter: #EFE8E1;
+$gray-lighter-second: $gray-lighter;
+$border-gray: #D3C9C2;
+$brand-primary: $gray-dark;
+$brand-secondary: #D58BA2;
 $brand-success: #4cbb6c;
 $brand-warning: #ff9a52;
 $brand-danger: #ff4c4c;
2. Modifying specific parts
I also changed some individual component's colors, like swapping the background's gray with the header's white.
For that, you should use your browser's DevTools to find the CSS selector of the specific part, then find that selector in the code.
Some variables like $body-bg used in the code are not initially found in the _variables.scss file. They are Bootstrap (UI framework that this theme is based on) variables.
They can be overwritten by simply adding them to our _variables.scss file.
+$card-bg: $gray-lighter;
+$body-bg: $white;
+$input-bg: $white;